For most projects we do, vacuum hold-down is the ideal way to hold material while machining it. There are however many scenarios where your vacuum won’t hold your stock. Even with the most powerful vacuums if you cannot focus enough suction force on your stock you need another - most likely mechanical - means of fixturing.
While searching around for how to do this we came across a wonderful solution: Painters tape and super glue.
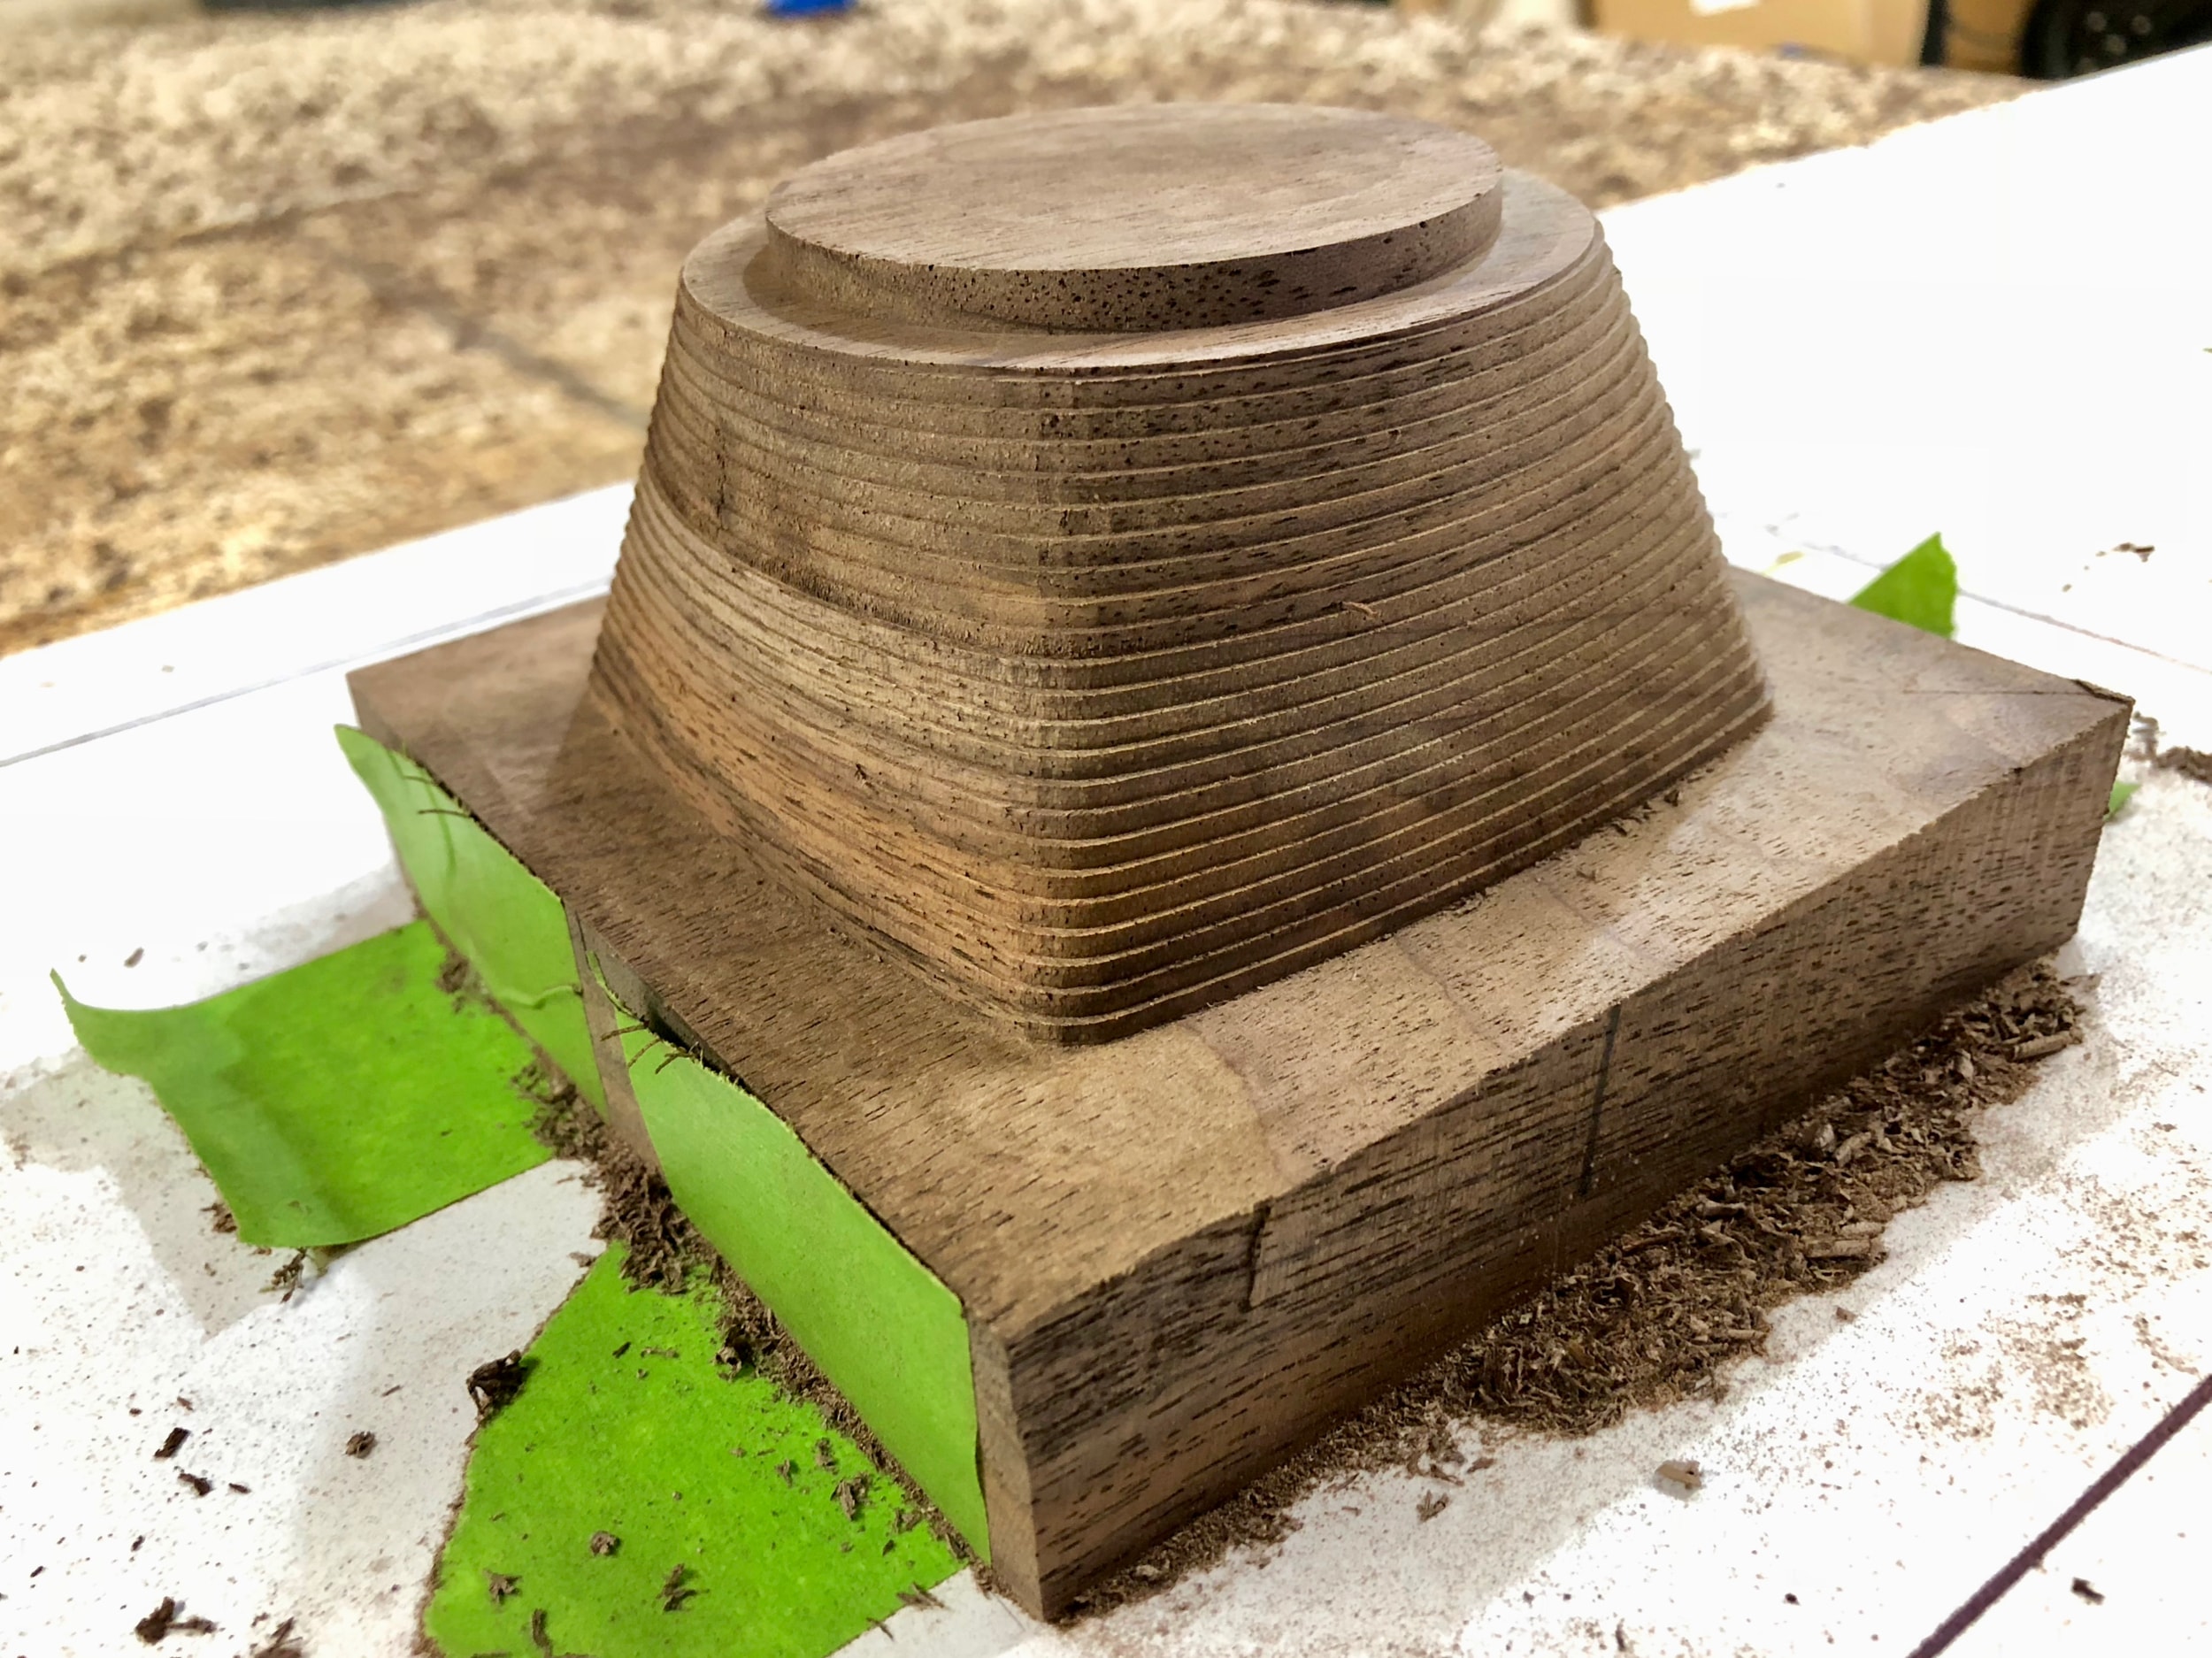
This is no joke – it works flawlessly. We have yet to have a part move in the slightest. Actually, I’ve taken a 5lb dead-blow mallet and smashed the side of a part many times at full swing and it only damages the edge of the material - no movement at all.
The secret here is you are relying on the tape to hold to the CNC bed and the bottom of your stock.The glue holds tape to tape and doesn't touch your part or the bed.
video Examples Below
Tools We Use:
- Fastcap 2P•10 Thick Superglue - Our favorite super glue.
- Scotch 2060-48A Tape - Painters tape for hard-to-stick surfaces
- Hard Rubber Brayer - Smashes down the tape
How to Do it
1) You want clean surfaces, typically we vacuum clean and blow the surfaces with an air gun - if you’re cutting metal, some alcohol surface prep might be advised.
Steps 1-6
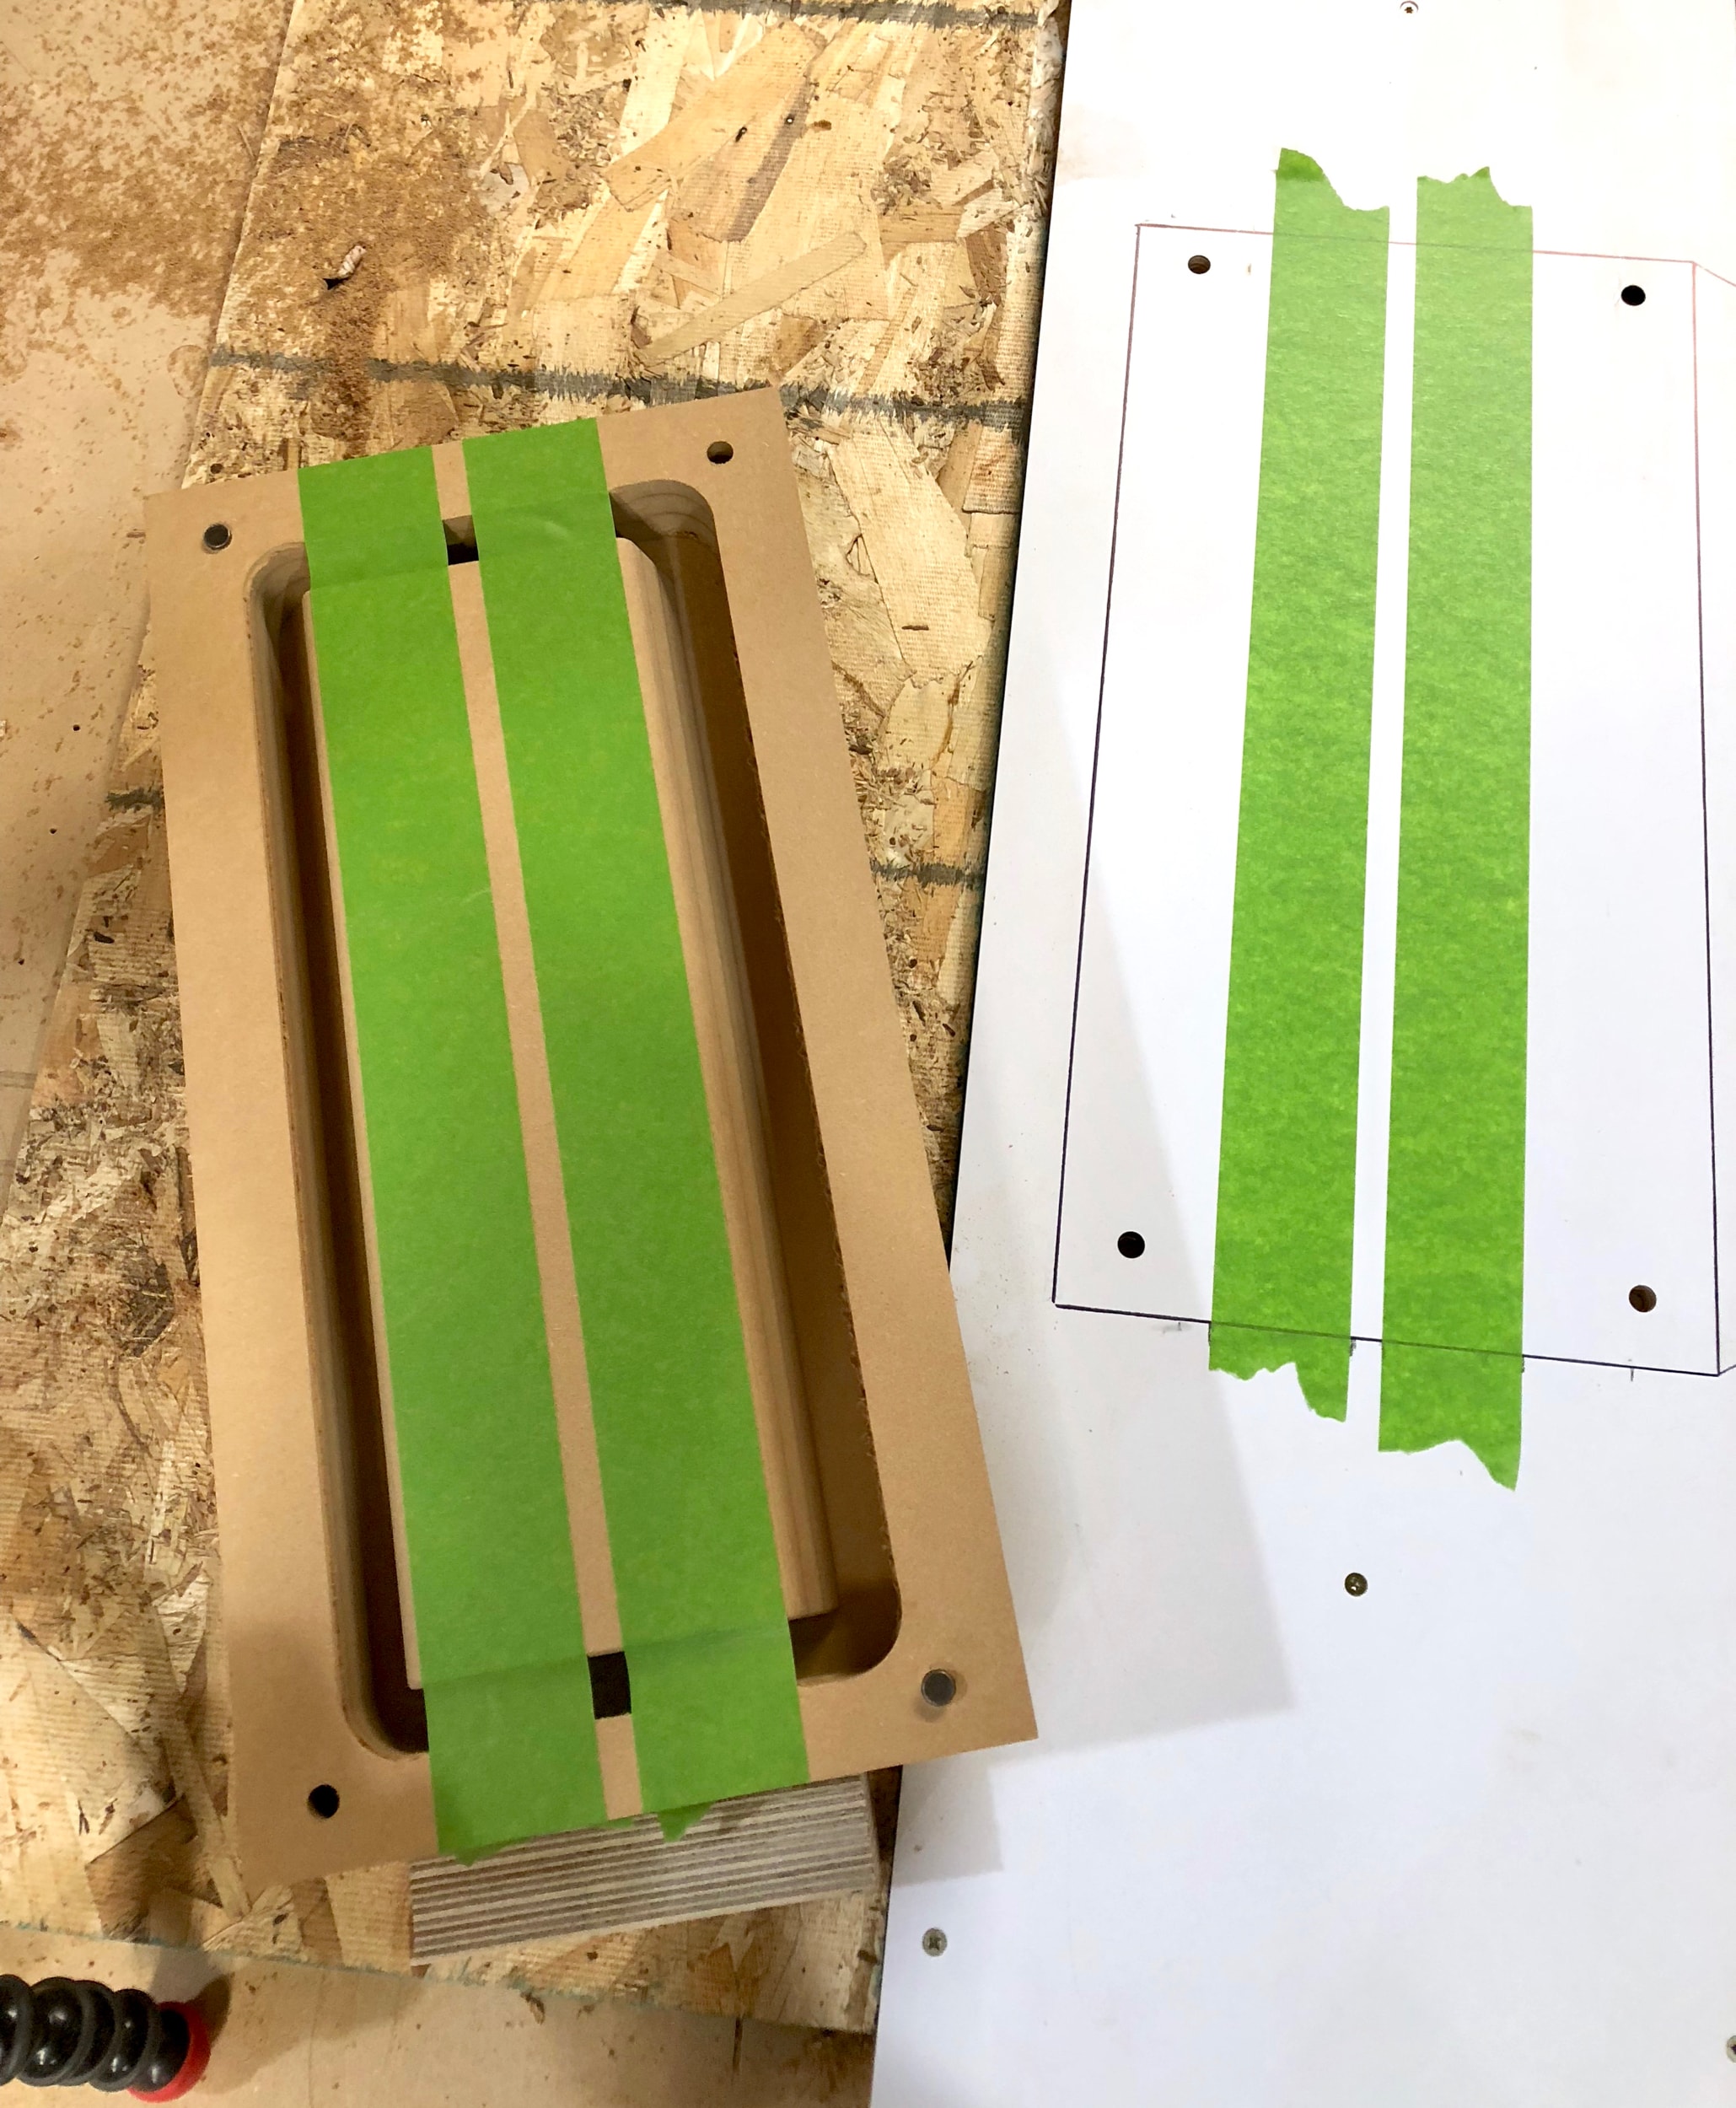
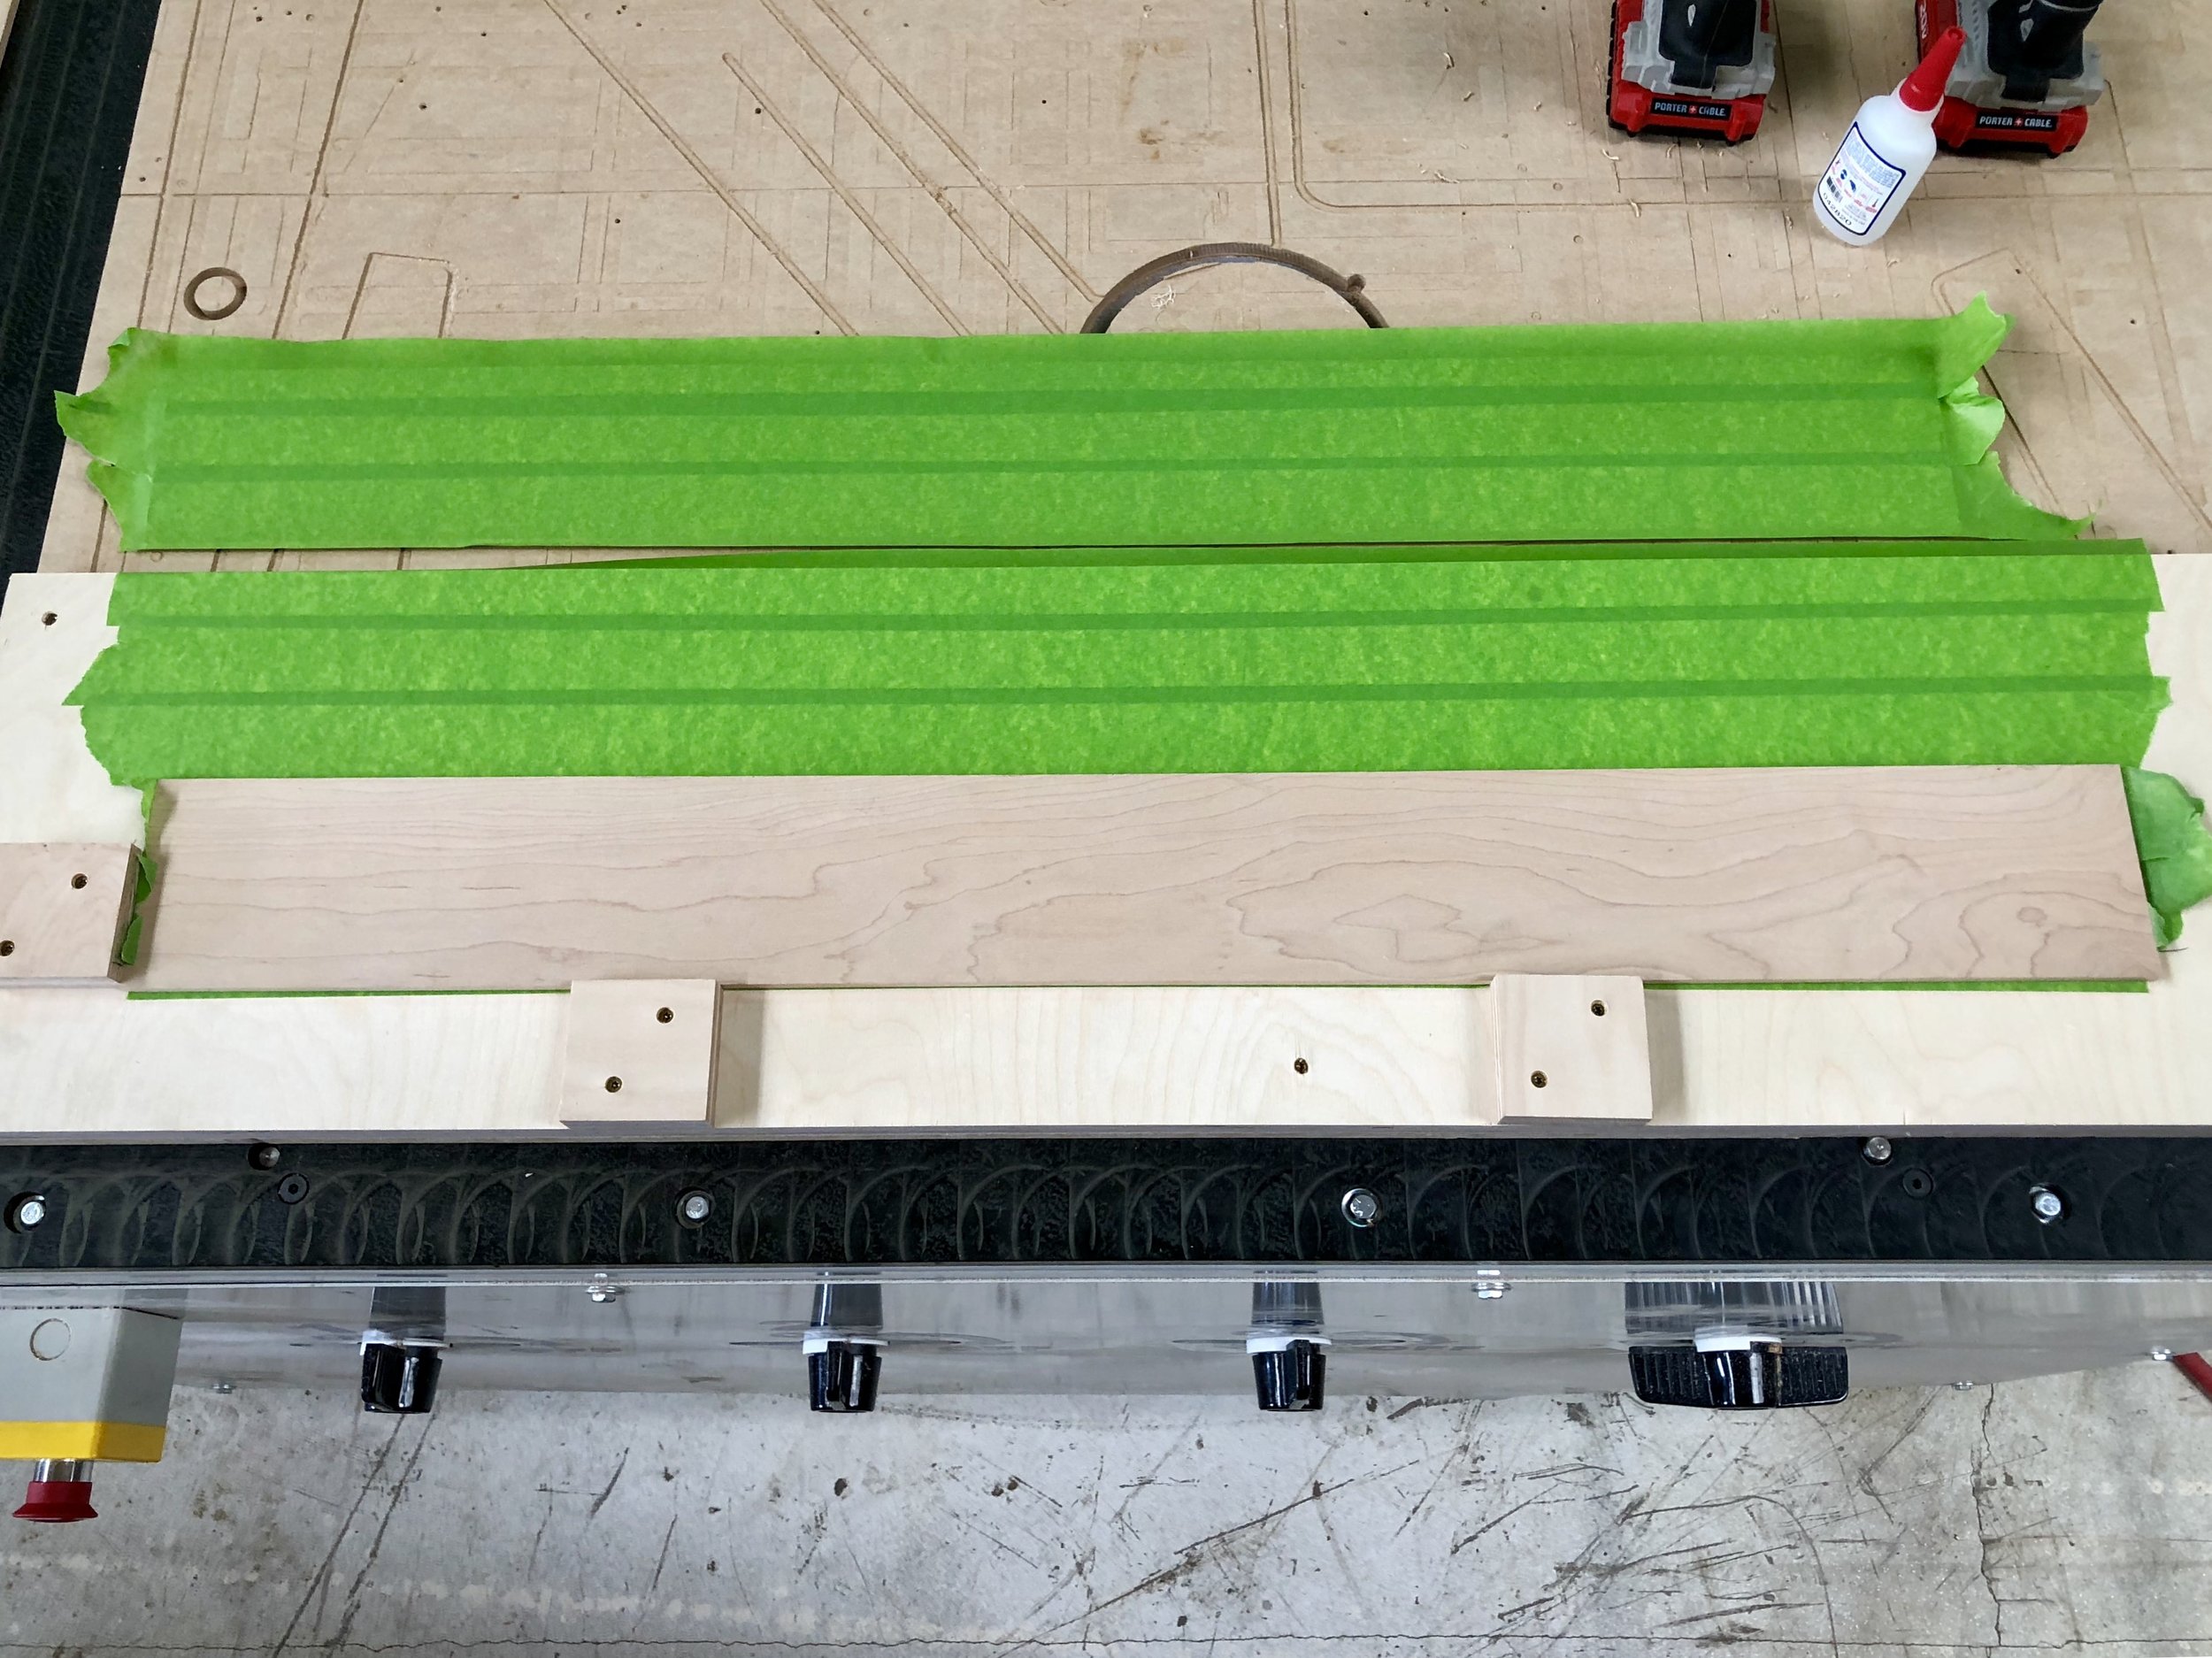
2) Take your tape and align it as straight as you can across the bottom of the part. We like to overlap a little on each edge. We typically only do about 2 pieces of 1.88” wide tape but this depends on the size of your piece. It will be intuitive on how much to use.
Commentors have suggested covering the entire stock and respective space on the bed in tape (and thus glue.) We haven't needed this kind of hold yet.
3) Use your brayer, starting at the center of the tape and roll the tape down firmly so there aren’t bubbles or creases.
4) Next, lay your taped part over the area you want to affix it to on the CNC table. Mark the edges (on the table) where your part tape is to make aligning the table tape easy.
Tip: We also like to trace around the part with a pencil/marker so we know exactly where to put it back.
5) Lay down and bray tape on the table where you marked the edges - make sure it goes past the part edges.
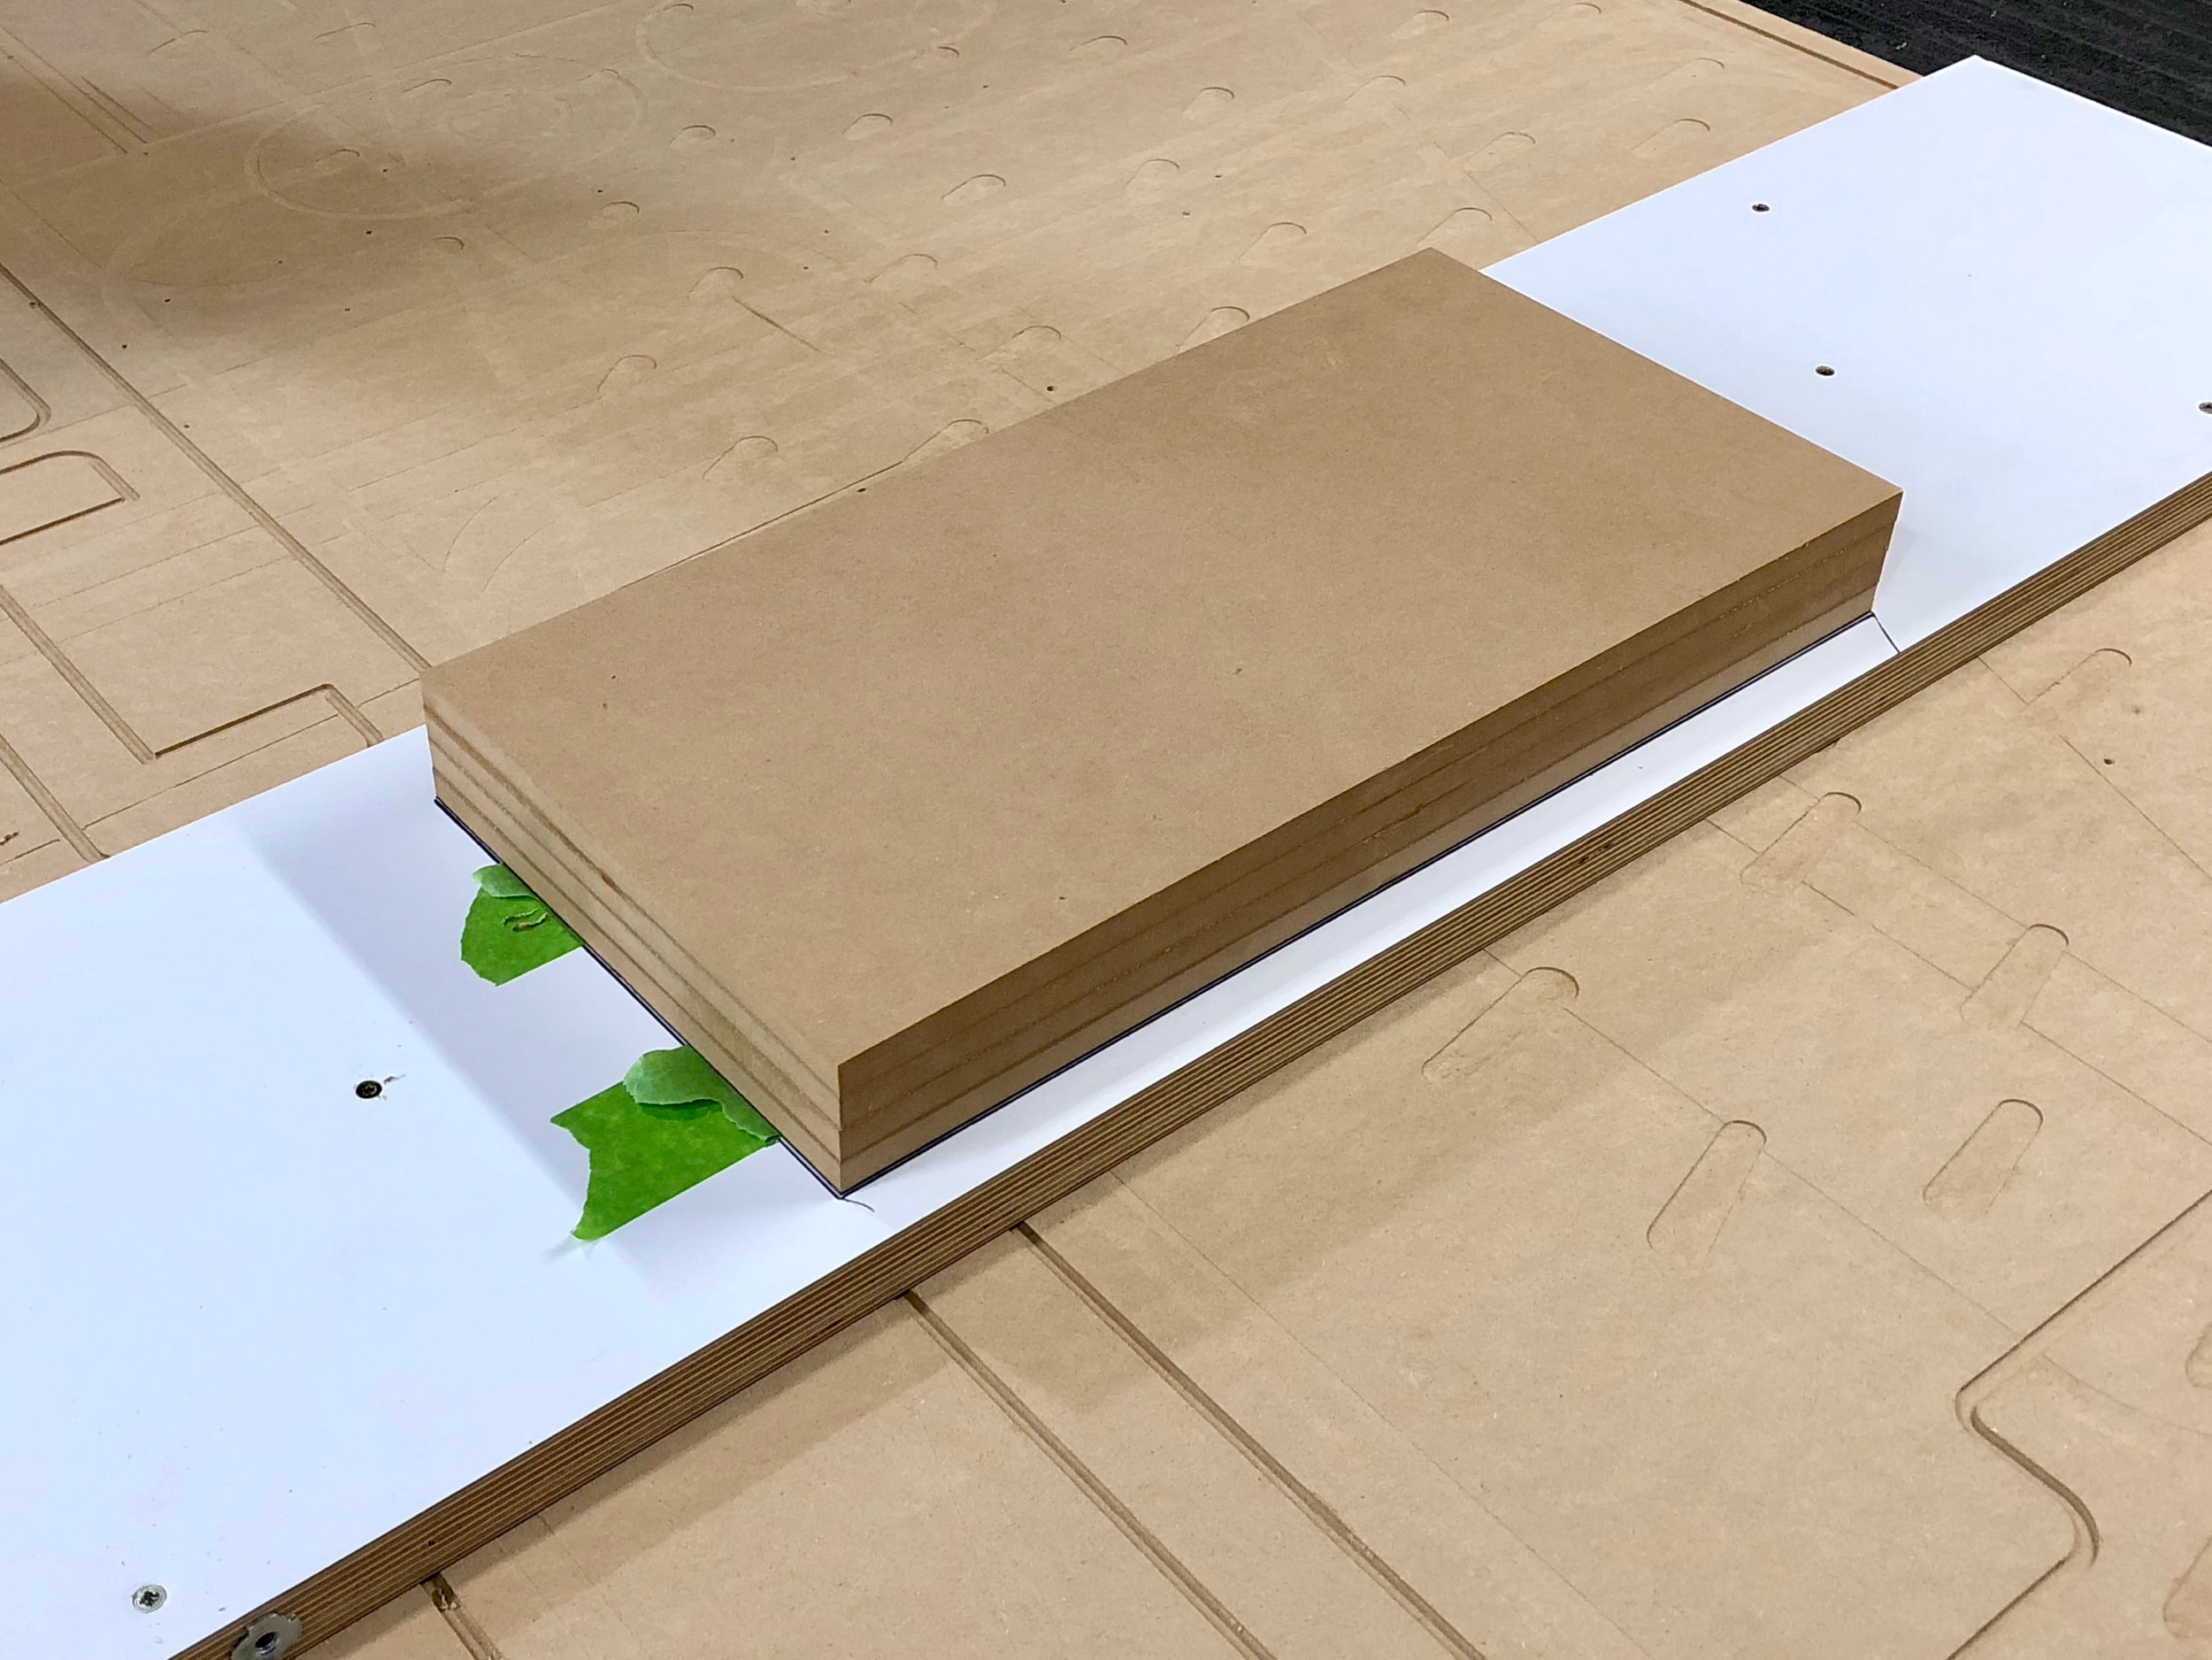
Step 6-7 – Quickly flip part over and align tape.
6) You have 30 seconds here so be ready! Turn the part so the tape is face up. Apply glue to the center 3/4 of the table tape. We use a squiggly back and forth motion.
Note: You don't want excess to squeeze out past your tape or you’ll have a permanent addition to your CNC bed.
7) Flip the part onto the wet glue - aligning the tape lines. Press firmly and evenly for at least 30 seconds.
Step 7-8 – Press firmly and evenly for at least 30 seconds.
8) Voilà, you have an incredibly well held part!
Removal
To remove the piece you want to break the bond between the tape and the glue. Pressing a thin putty knife at the tape seam works fairly well. A chisel if you need to get more forceful. It may seem too strong but eventually you'll get it with some patience.
Peel the tape off each side and you’re done!
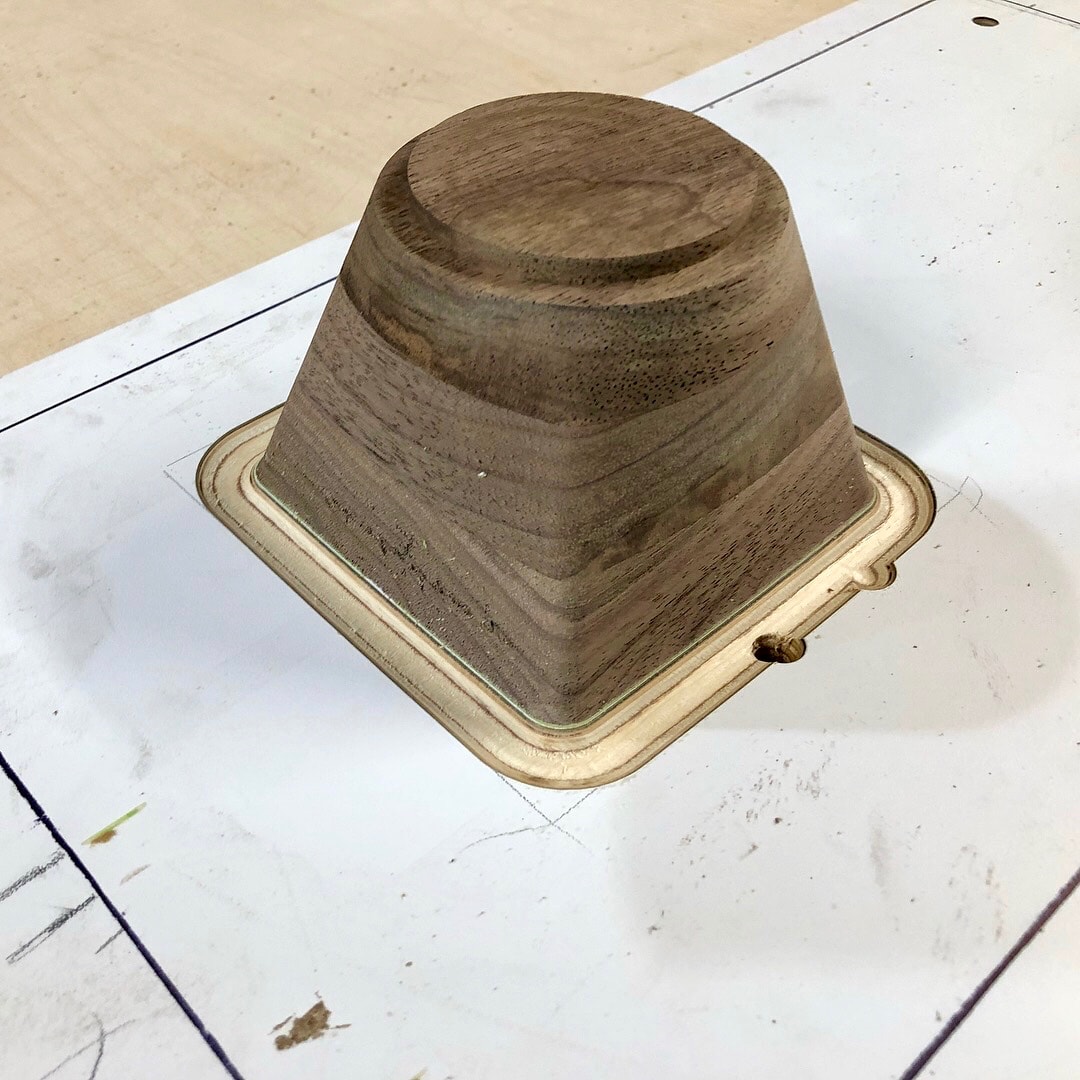
A few Super Glue + Tape Fixturing Examples
See more tools we use.